

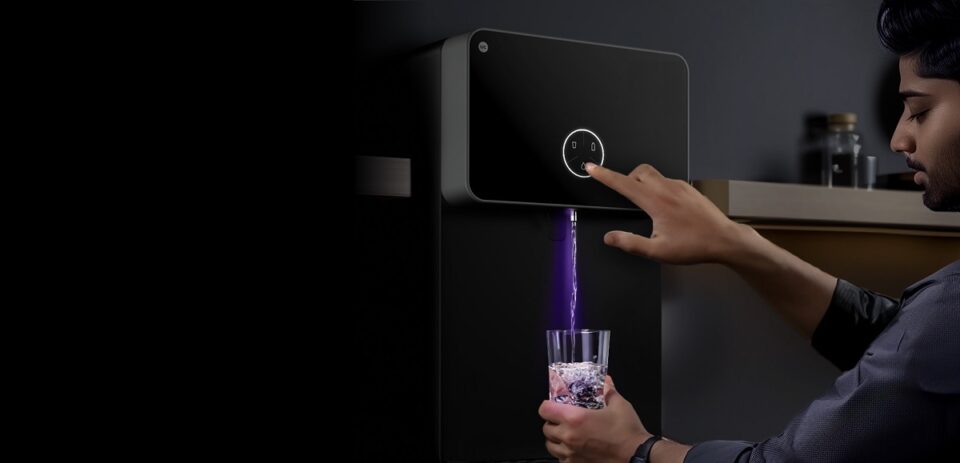
Installing an RO water purifier at home ensures access to clean, safe drinking water. Reverse osmosis (RO) systems remove impurities, making them a popular choice for households. However, proper installation is crucial for optimal performance. Here are five simple steps to install and set up your RO water purifier correctly, ensuring it delivers pure water efficiently.
Step 1: Gather Tools and Check the Kit
Before installing your RO water purifier, ensure you have all the necessary components. Most RO water purifier kits include a pre-filter, RO membrane, post-filter, storage tank, faucet, and tubing. Check the manual for a complete list. Gather tools like a wrench, screwdriver, drill, and pipe cutter. Verify water pressure (typically 40-80 PSI) as RO water purifiers require adequate pressure to function. If pressure is low, you may need a booster pump. Choose a location near a water source, a drain, and a power outlet for easy access.
Step 2: Install the Pre-Filter and RO Membrane
Start by mounting the pre-filter unit, which removes sediment and chlorine before water reaches the RO membrane. Secure the pre-filter housing to a wall or under the sink, following the RO water purifier’s manual. Next, install the RO membrane in its housing. Open the membrane compartment, insert the membrane, and ensure a tight seal to prevent leaks. This step is critical, as the RO membrane is the heart of the RO water purifier, filtering out contaminants like heavy metals and salts.
Step 3: Connect the Water Supply and Tubing
Shut off the main water supply to avoid spills. Attach the RO water purifier’s inlet valve to the cold water line using a saddle valve or T-joint, as specified in the manual. Connect the tubing from the water supply to the pre-filter inlet. Then, link the pre-filter to the RO membrane housing and the storage tank. Use color-coded tubing (often provided) to avoid confusion. Ensure all connections are secure to prevent leaks, as improper tubing setup can compromise the RO water purifier’s efficiency.
Step 4: Set Up the Storage Tank and Faucet
Place the storage tank in a stable, accessible spot, typically under the sink. Connect it to the RO water purifier’s post-filter using the designated tubing. The post-filter polishes the water for taste and clarity. Next, install the RO faucet on your sink. Drill a hole (if needed) using a drill bit suitable for your countertop material. Secure the faucet and connect it to the post-filter outlet. Double-check all fittings to ensure the RO water purifier system is leak-free when water flows.
Step 5: Flush and Test the System
Turn on the water supply and check for leaks at all connections. Flush the RO water purifier system by running water through it for 10-15 minutes, as recommended by most manufacturers. This removes air bubbles and cleans the filters. Fill the storage tank and discard the first batch of water to ensure purity. Test the water with a TDS (Total Dissolved Solids) meter to confirm the RO water purifier is reducing contaminants effectively. Adjust settings, like the flow restrictor, if needed, per the manual.
Maintenance Tips for Longevity
Regular maintenance keeps your RO water purifier performing optimally. Replace pre-filters every 6-12 months, the RO membrane every 2-3 years, and the post-filter annually. Clean the storage tank periodically to prevent bacterial growth. Always refer to the RO water purifier’s manual for specific maintenance schedules.
Conclusion
Installing an RO water purifier correctly ensures clean, safe drinking water for your household. By following these five steps—gathering tools, installing filters, connecting tubing, setting up the tank and faucet, and testing the system—you can set up your RO water purifier with confidence. Proper installation and regular maintenance guarantee long-term performance, making your investment in an RO water purifier worthwhile. Enjoy pure water and peace of mind with a well-installed system.
