
Getting Adhesives Right from the Start
Every project begins with a choice that feels small but shapes the whole outcome — the adhesive. A wall can look perfect after hours of prep, only to peel within weeks if the wrong product was used. That’s why professionals and DIYers alike pay close attention to the bond behind the beauty. The truth is, glue is never glue; it’s the backbone of a finish.
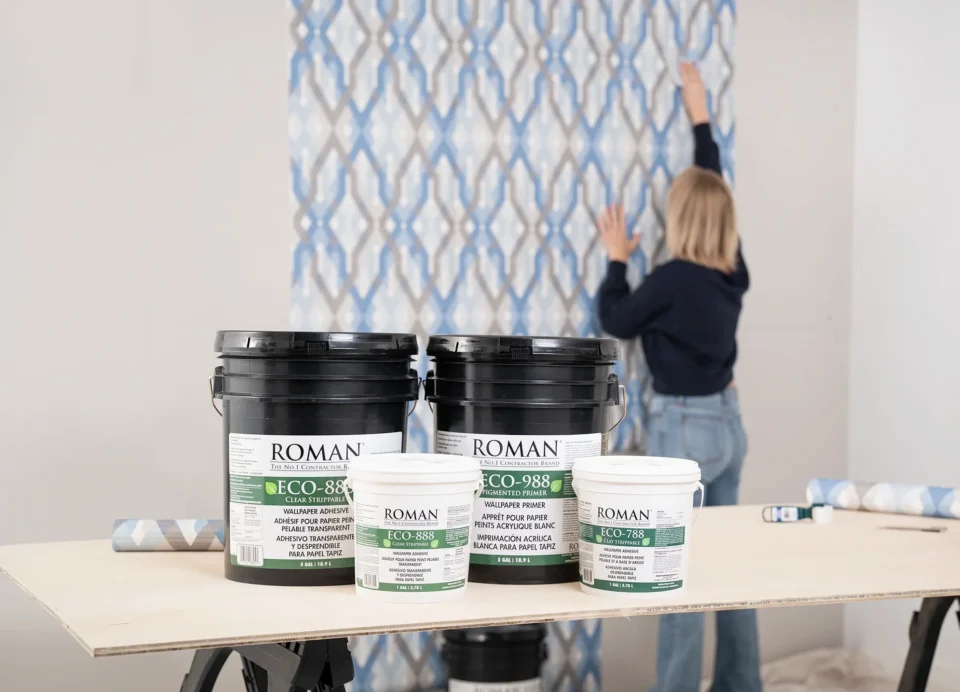
What sets a flawless job apart from a frustrating one isn’t just skill, but the materials that hold everything together. When it comes to durability, ease of use, and clean application, ROMAN decorating adhesives have become a trusted pick for people who want results that last. They’re designed to simplify tricky steps, reduce common failures, and keep walls and surfaces looking sharp far beyond the final brushstroke.
This guide isn’t about overwhelming you with technical jargon or endless product lists. It’s about showing you what really matters when choosing an adhesive — from the kind of surface you’re working with to the conditions in your space. If you’ve ever wondered why some projects hold up while others fail too soon, you’ll find the answers here, in clear, practical steps you can use right away.
How To Choose the Right Adhesive for Your Project
You need the right adhesive for the surface, not the strongest one. Match adhesive type to material porosity and weight. Check drying time versus work time. Consider indoor vs outdoor exposure. Think about temperature and humidity at the application. Look for low-odor if you work inside. Read the product label for load ratings. Try a small test patch before the complete application. Note: the cleanup method — water cleanable is easier. Consider flexibility for materials that move. Check compatibility with paint or finish. Prefer adhesives that won’t stain or discolor. Ask if the product is tolerant of damp walls. Look at tack level — instant tack helps vertical work. Finally, trust brands that publish technical data.
- Match the adhesive to the material.
- Consider open time and cure time.
- Test on a scrap before full use.
- Choose low-odor for interiors.
What Makes an Adhesive Work Well in Real Use
Adhesion depends on surface prep as much as chemistry. Surface energy and cleanliness change results. Rough surfaces often need different formulas than smooth ones. Some adhesives bond better to porous masonry. Others prefer nonporous metals or plastics. Creep resistance matters when weight sits long-term. Shear strength matters for lateral loads. Tensile strength matters for pulls or peels. Elasticity matters if the bonded parts move—water resistance issues outdoors and in kitchens—heat tolerance matters near heat sources. Shelf life and storage affect performance, too. Manufacturer guidance on substrate lists is helpful. Lab data helps, but field tests reveal real behavior. Small jobs let you test without significant risk. Keep a roll of masking tape for quick trials.
- Check shear and tensile values.
- Consider elasticity for moving parts.
- Verify water and heat resistance.
- Store product per instructions.
Why Prep and Application Matter More Than You Think
Prep is half the job, maybe more. Clean surfaces bond strongly. Remove dust, old adhesive, grease, and loose paint. A light sanding often helps with slick finishes. Use a primer if recommended. Control humidity and temperature during work. Apply adhesive in the pattern the maker suggests. Use proper tools: not a spoon for a trowel job. Maintain consistent bead sizes for even cure. Clamp or weight parts as instructed. Don’t rush the cure window — early stress causes failure. Trim excess when semi-cured for a neat edge. Keep solvents and cleaners on hand for accidental smears. Train helpers on simple steps to keep consistency. Small habits at prep pay big dividends later.
- Clean and sand surfaces first.
- Follow the manufacturer’s bead pattern.
- Use clamps or weights where needed.
- Respect cure times for the best strength.
Take The Next Step and Finish Strong
We’ve walked through choice, chemistry, and application so that you can finish right. We stand by straightforward testing: try a patch, wait a day, and evaluate. If you want consistency, make a short checklist before each job. We’ll keep helping you sharpen the routine and avoid the usual sticky messes. If you have a tricky surface or a tight deadline, reach out and tell us what you’re facing. We’ll share the simple checklist we use on site. Ready to get a clean, reliable finish? Let’s make the next job the one that lasts.
